Whether you’ve got a special event or a date night coming up, the smokey eye is a must-have in everyone’s makeup repertoire.
This timeless, versatile look works for any occasion and season, especially during autumn and winter.
Our step-by-step beginner’s guide will teach you how to do a smokey eye like a pro. And with party season just around the corner, there’s no better time to master this sultry look.
How To Do Smokey Eye Makeup
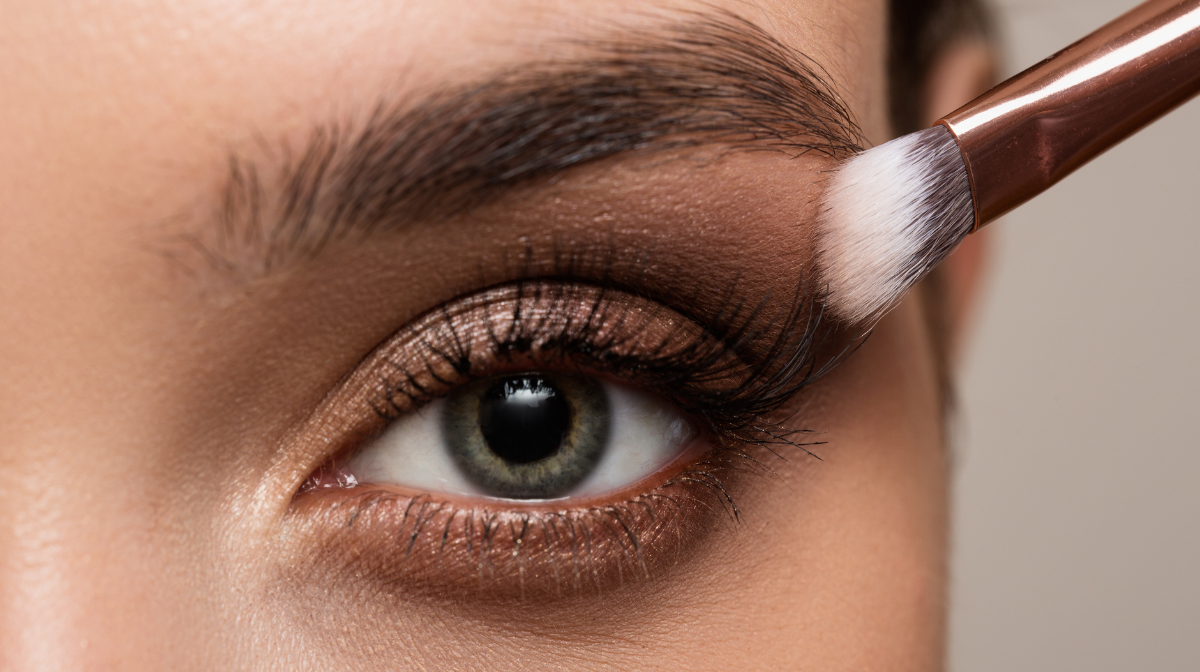
The classic smokey eye makeup requires three essential shades: a neutral base (such as light brown), a darker crease shade (a deeper brown), and a shimmer or lighter shade (champagne or gold) for the centre of your eyelid.
To achieve this look, make sure you have the right brushes: a flat brush for applying the base and shimmer shades, and an angled brush for blending the crease colour.
Step 1: Prime Your Eyelids
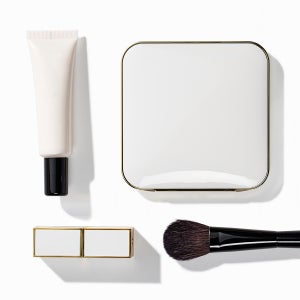
Whether you’re learning how to do a smokey eye for the first time or are already experienced, an eye primer is essential. Think of it as the foundation of your eye look - keeping out unwanted creases and helping your eyeshadow last all day (and night).
Don’t worry if you don’t have one in your makeup bag, your favourite concealer could help to create a base for your eyeshadow.
Step 2: Choose Your Eye-Shadow Colours
When choosing your shades, make sure to take your eye colour into consideration.
If you’re wondering how to do a smokey eye for blue or green eyes, try browns, bronzes, or copper tones.
For brown and hazel eyes, cooler shadows, like shimmery silvers and midnight blues tend to work best.
Expert Tip: If you want to achieve a softer looking finish, opt for browns rather than black, for a more flattering effect.
Remember, it can be personalised to suit your style – so don’t feel limited to the usual go-to shades.
Step 3: Apply the Base Shade
Using a flat brush, apply your base shade to your eyelid, blending it just above the crease. If you’re looking to achieve a more blown-out finish, extend the colour closer to the brow.
While blending the shade upwards, avoid reaching the brow bone, as this area will be highlighted later.
Step 4: Apply the Crease Colour
Next, apply a darker shade just above the natural crease of your eyelid, so the eyeshadow remains visible when your eyes are open.
Blend thoroughly in back-and-forth motions towards the outer corners for a smooth finish. You can also smudge this colour along the lower lash line to balance out the look and add a little extra drama.
For best results, ensure you blend thoroughly, to achieve a smooth transition between the different shades.
Expert Tip: Your eyeshadow placement may vary depending on your eye shape. For hooded eyes, try applying the colour with your eyes open, to ensure you can see your eyeshadow peeking through.
Step 5: Add the Shimmer
Apply a light shimmer eyeshadow to the centre of your lids to make your eyes pop. Simply use your fingertip to press this in and to maximise the pigment.
You can also apply highlighter to the inner corners and brow bone for a lifted, brightening effect.
Step 5: Add the Finishing Touches
To finish, you can use an angled brush to apply dark eyeshadow as eyeliner. Simply draw the line along the upper lash line and use your finger to blend the liner in upwards and outwards motions – smudge it for an extra smokey effect.
Also, don’t forget to complete your look with mascara – a volumising one will enhance the boldness of the smokey eye.
Now that you’ve perfected the smokey eye, consider pairing it with a sultry lip shade. We love a nude tone to let the eyes speak for themselves!
For a long-lasting finish, check our guide on how to make your lipstick last longer, so you’re ready to party the night away with fewer touch-ups.

